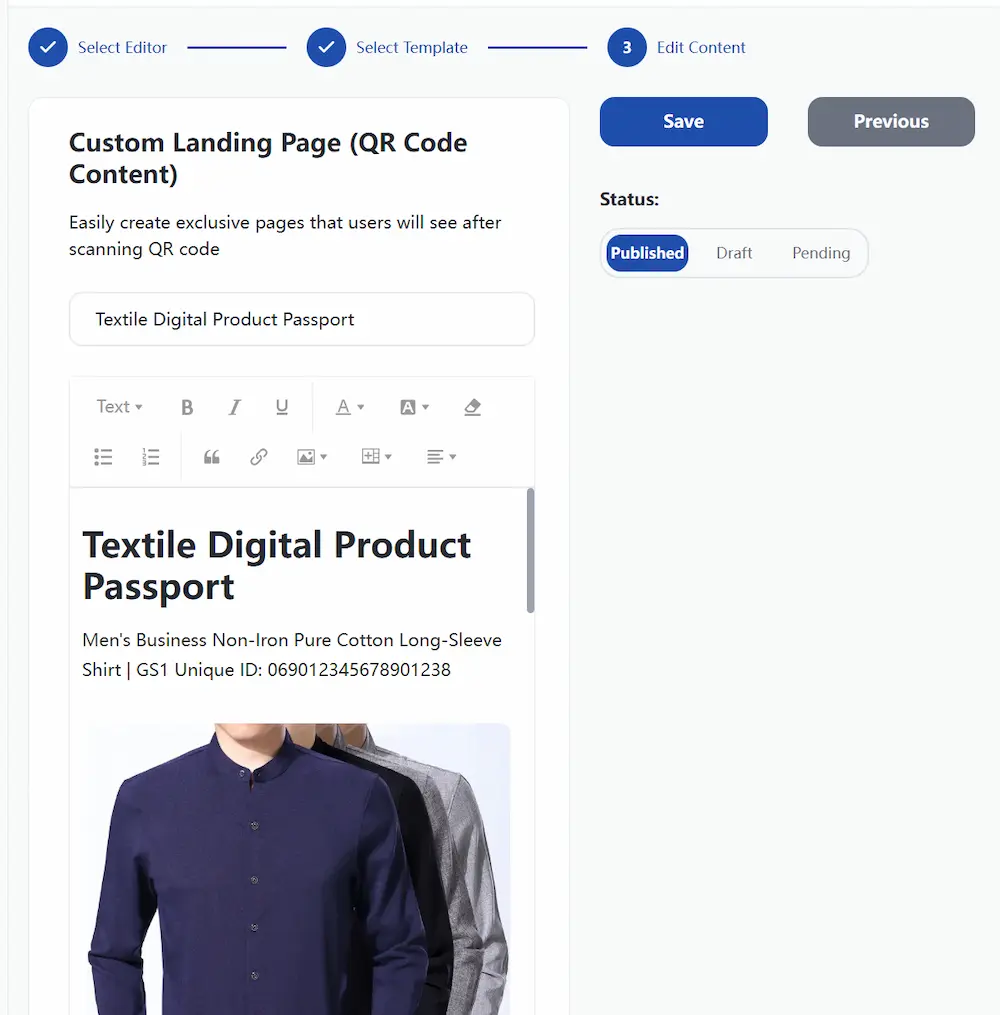
The visual drag-and-drop editor features a building-block editing workflow. No coding is required—simply drag modules from the component library and adjust parameters to build polished QR code landing pages just like assembling Lego bricks.
Split canvas into left-right columns with customizable ratios, gaps and alignment
Layout
Section
Section Container
Padding-enabled background container for grouping multiple child components
Layout
Spacer
Vertical Spacer
Controls blank vertical white space only
Layout
Tab
Tab Switcher
Split content into 2–6 interchangeable tab panels
Content
Heading
Heading Block
H1–H4 headings with adjustable font size, color and alignment
Content
TextBlock
Plain Text Block
Paragraph text supporting basic HTML tags
Content
RichText
Rich Text Block
Tiptap rich text editor (bold, lists, hyperlinks and more)
Content
ImageBlock
Image Block
Upload/select images; configurable hyperlinks and rounded corners
Content
Video
Video Embed
Embed YouTube / Vimeo video players
Content
Card
Content Card
Illustrated clickable card modules
Content
Table
Data Table
Rapid table generation via CSV text input
Content
ListBlock
List Block
Ordered/unordered lists with customizable bullet styles
Interaction
ButtonBlock
Standalone Button
Single customizable colored button component
Interaction
CTA
Call-to-Action Banner
Full-width accent-colored action zone (heading + embedded button)
Interaction
IconText
Icon-Text Combo
Combined module of icon + heading + descriptive text
Decoration
Hero
Hero Banner
Large top header section with optional background image
Decoration
Divider
Horizontal Divider
Simple horizontal separating line
5. Central Canvas Operations
5.1 Adding Components
Method 1: Drag-and-Drop Insertion
Select your target component in the left component library.
Hold the left mouse button and drag the component to your desired position on the canvas.
Release the mouse to place the component.
Method 2: Click Insert (Inside Containers)
For slot-enabled containers including Sections, Two-Column Layouts and Tab Switchers:
Single-click the target container on the canvas to select it.
Locate the + Add Component to Container button at the top/middle of the right properties panel.
Click the button and pick a component from the dropdown menu.
The selected component will be appended to the bottom of the container’s slot.
💡 Special Rule for Tab Components: After selecting a Tab switcher, the properties panel provides a separate Add Component to Tab N button for each individual tab panel.
5.2 Selecting Components
Click any component on the canvas to select it (a blue dashed border will appear around the module).
Upon selection, the right properties panel automatically loads configuration fields for that component.
5.3 Reordering Components
Click and hold the drag handle (⋮⋮ icon) at the top-left corner of the target component.
Drag vertically to your target position.
A blue horizontal indicator line marks the exact insertion point.
5.4 Deleting Components
Select the component you wish to remove.
Press the Delete key, or click the delete icon in the top-right corner of the component.
Click Confirm in the pop-up confirmation prompt.
5.5 Duplicating Components
Select the target component.
Press Ctrl + D (macOS: Cmd + D) to duplicate.
The copied component will automatically appear directly below the original module.
5.6 Undo / Redo Shortcuts
Operation
Windows Shortcut
macOS Shortcut
Undo
Ctrl + Z
Cmd + Z
Redo
Ctrl + Shift + Z
Cmd + Shift + Z
You may also click the Undo / Redo buttons located in the bottom toolbar.
5.7 Viewport Switching (Multi-Device Preview)
The bottom toolbar offers three preset viewport widths for device simulation:
Viewport Mode
Width
Applicable Scenarios
Desktop
100% width
Desktop computers, landscape tablets
Tablet
768px
Portrait tablet screens
Mobile
375px
Smartphone displays
After switching viewports, the canvas width adjusts automatically for a true WYSIWYG preview of how the landing page renders on each device after QR scan.
6. Right-Side Properties Panel
After selecting any component, the right panel displays all editable configuration fields for that module.
6.1 Quick Reference for Field Input Types
Field Type
Usage
Example
text
Single-line text input
Heading text, target URLs
textarea
Multi-line text input
Body content, CSV data
number
Numeric value input
Font size, padding pixel values
select
Single-select dropdown
Alignment, heading level, preset colors
radio
Radio button group
List type, header styling toggle
array
Repeating list items
Editable list entries
slot
Container content slot
Content zone inside section containers
custom
Custom control widget
Image uploader, media library picker
richtext
Embedded rich text editor
Content input for RichText blocks
6.2 Detailed Configuration for All Standard Components
Columns (Two-Column Layout)
Field
Description
Column Ratio
Presets: 1:1 / 2:1 / 1:2 / 3:1
Column Gap (px)
Horizontal spacing between left and right columns (0–96)
Vertical Alignment
Top align / Vertically center / Bottom align / Stretch full height
Left Column / Right Column
Drag child components or use the Add Component button to populate each column slot
Section (Section Container)
Field
Description
Background Color
HEX color code (e.g., #f5f5f5)
Padding
Inner blank margin (0–96 px)
Max Width
Full width / 1200px / 800px
Layout Direction
Vertical stack (default) / Horizontal row
Horizontal Wrap
Auto wrap to new line / No wrap
Child Alignment
Left align / Center align / Right align
Child Spacing (px)
Vertical gap between nested components
Content Slot
Drop child components into this zone
Spacer (Vertical Spacer)
Field
Description
Height (px)
Adjustable range: 8–200 px
Tab (Tab Switcher)
Field
Description
Tab Count
Total tab panels (2–6 tabs)
Tab N Title
Display heading for the Nth tab panel
Tab N Content Slot
Insert nested components inside each individual tab panel